What to Expect at a Stargazing Photo Workshop Near Canyonlands After Dark
Apr 29, 2026
Expect careful timing near the new moon, red-light discipline, 20 to 30 minutes for dark adaptation, and live field guidance. A solid workshop also defines roles, deliverables, and image-quality checks.
People often show up for a desert night shoot thinking the hard part is camera settings. It usually is not. The bigger problems are bad timing, bright white flashlights, and choosing a trip that behaves like a sightseeing stop instead of a guided field session.
That matters even more around Canyonlands because the park is known for exceptionally dark conditions, and those conditions reward preparation while exposing every shortcut. If you are considering a stargazing night sky photography workshop near Canyonlands with telescope, the useful question is not whether the stars will be visible. It is whether the experience is structured well enough to help you come home with images you actually want to keep.
When this kind of workshop is the right fit
A guided night session makes the most sense when you want help with timing, location choice, and low-light shooting decisions that are hard to troubleshoot alone in the dark. It is also a strong fit if you are already traveling through southeastern Utah and want one focused evening rather than trial-and-error on your own.
Canyonlands National Park is designated as a Gold-Tier International Dark Sky Park, offering some of the darkest skies in the contiguous United States, ideal for astrophotography.
Dark sky guidance
This is a better match than a casual scenic stop if any of these points sound familiar:
- You know your camera basics: You can change exposure settings, but you want field coaching on composition, focus in darkness, and working efficiently before the sky changes.
- You care about image quality: You are not looking for a quick phone snapshot. You want deliberate frames with a foreground, a clean horizon line, and minimal avoidable mistakes.
- You do not want to manage the entire evening yourself: Moon phase, darkness timing, and on-site etiquette matter more here than on a normal sunset stop.
- You are already combining parks in one trip: If your itinerary includes daytime sightseeing, a guided evening can add a very different kind of experience without turning the whole trip into a technical project.
If you are building a wider itinerary, review Utah National Parks Tours with the same practical lens. The useful details are the starting point, transport, walking level, approximate schedule, and whether the group size leaves room for questions.
| Trip factor | What the Utah park tour collection offers | Why it matters before a night photo session |
|---|---|---|
| Starting point | Many trips begin in Salt Lake City with round-trip transport | It reduces long-drive planning before a late evening activity |
| Stops | Major viewpoints plus lesser-known pullouts | Good for scouting landscapes and understanding terrain during daylight |
| Walking level | Ranges from walking/auto to walking | Helps you judge whether you will still have energy for a dark-sky session |
| Approximate duration | Some outings run about 3 hours, others about 7 | Useful when deciding whether to pair a daytime outing with night shooting |
| Group size | Small groups, with listed maximums up to 11 or 13 on some trips | Smaller groups usually make questions and on-the-spot coaching easier |
Process stages and who should handle what
The easiest way to judge a workshop is to look at the flow from booking to wrap-up. A good provider makes ownership clear, so you know which parts are handled for you and which parts still depend on you.
Stage 1. Booking and fit check
The organizer should explain the expected walking level, meeting logistics, and the kind of participant the session suits best. You should be honest about your experience, your goals, and whether you want instruction, observation through optics, or both.
Stage 2. Timing and sky conditions
The organizer is responsible for choosing a date window that gives you a real chance at strong visibility. You should ask directly whether the session is planned around the new moon, because even a thin crescent can wash out fainter stars and the Milky Way.
Stage 3. On-site setup and dark adaptation
The leader should control the pace at the start, keep the group from flooding the area with bright light, and allow enough time for night vision to settle in. Your job is simple but important. Arrive on time, avoid white light, and give your eyes 20 to 30 minutes to adjust.
Stage 4. Field instruction and image making
The guide should help with framing, foreground choice, and practical shooting order so participants are not guessing under pressure. You remain responsible for operating your own gear and following any instructions about preserving the natural darkness of the site.
Stage 5. Wrap-up and file review expectations
Before booking, confirm whether the session ends in the field or includes a brief review of results. If feedback is part of the experience, ask what form it takes, such as in-person checks on the back screen or a short post-session selection review.
| Stage | Organizer responsibility | Your responsibility | Practical check before you book |
|---|---|---|---|
| Fit check | State walking level, timing, and session style | Share your experience and goals | Can they describe who the session is for in plain language? |
| Scheduling | Choose a workable moon-phase window | Keep your travel dates flexible if possible | Do they mention planning near the new moon? |
| Arrival | Set meeting instructions and light etiquette | Arrive early and use red light only | Do they tell participants how to protect night vision? |
| Shooting time | Guide composition and workflow | Operate your own camera and follow site rules | Do they explain how instruction happens in the field? |
| Wrap-up | Clarify deliverables and end time | Back up files and note what worked | Is there a clear end point and expected output? |
You found a hidden promo code!
Use code WOWBLOG at checkout and get 10% OFF any tour!
Limited time offer. Book now and save!
Browse ToursTimeline and the deliverables you should expect
Night photography sessions feel shorter than they are because setup takes time and darkness changes your pace. A well-run evening should acknowledge that and build in a sequence instead of treating every minute as active shooting.
- Before the date: You should receive meeting details, the expected start and finish window, walking expectations, and a note on light discipline.
- At arrival: Expect a short orientation covering where the group will stand, how to move safely, and when to stop using bright screens or white beams.
- Dark adaptation period: A good session leaves room for 20 to 30 minutes of adjustment before serious image-making begins.
- Guided shooting block: The core value is live help with framing and decisions under actual conditions, not just general theory.
- End-of-session review: At minimum, you should know whether your files are technically usable before you leave the location.
Deliverables do not have to be flashy to be useful. What matters is clarity. For this type of booking, strong deliverables are a defined schedule, visible coaching in the field, and clear confirmation of what success looks like before everyone heads home.
Quality control and acceptance criteria
The easiest way to avoid disappointment is to judge the session by observable standards, not vague promises. You do not need a guarantee of masterpiece images, but you do need evidence that the setup supports real results.
| Quality area | What good looks like | Acceptance sign |
|---|---|---|
| Moon-phase planning | Date is chosen to favor darker skies | The organizer can explain why the timing works |
| Night-vision protection | Red lights are used and bright lamps are discouraged | You are told this before the session starts |
| Dark adaptation | The group is not rushed into shooting immediately | There is a built-in adjustment period of about 20 to 30 minutes |
| Landscape ethics | No artificial light is used to illuminate rock formations or foregrounds | The guide enforces a natural-darkness approach on site |
| Instruction quality | Advice is tied to the actual sky and actual terrain | You receive feedback while shooting, not just after |
That last point matters more than people expect. A technically correct lecture in a parking area is not the same as coaching when the horizon line, foreground shape, and darkness are right in front of you.
Practical recommendations that improve your keeper rate
Small adjustments make a bigger difference than buying more gear. Around Canyonlands, the best habits are the ones that preserve darkness and reduce wasted time.
- Ask about the moon before you ask about anything else: If the date is not close to the new moon, the odds of seeing faint detail drop fast.
- Protect your eyes early: Start using red light before the session begins, not halfway through after your vision is already compromised.
- Choose one foreground idea in advance: A rim line, rock shape, or overlook silhouette gives you a faster start than wandering in the dark for a composition.
- Keep your screen checks brief: Long bright reviews slow the group and reset your eyes.
- Confirm whether artificial illumination is prohibited: In this environment, lighting up rock formations is the wrong workflow because preserving natural darkness is part of the experience.
If your larger trip already includes canyonlands tours from moab, watch how the schedule stacks. A full day of viewpoints and short walks can be worthwhile, but pairing it with a late session works best when the daytime outing is paced realistically rather than crammed.

Two realistic booking scenarios
Scenario one: A couple spends the day on a scenic outing with light walking and several photo stops, then joins a night session because they want guided help without planning every location themselves. The better outcome comes when they already know the meeting time, have used red lights from the start, and understand that the first half hour is for adjustment, not rushing into frames.
Scenario two: A solo traveler is choosing between a broad sightseeing itinerary and a more focused evening experience. If the traveler mainly wants iconic overlooks, one of the best tours of utah national parks may make more sense first; if the goal is learning how to work in deep darkness with active guidance, the specialized photo session is the better use of one evening.
Client preparation checklist
Most weak results come from preventable setup mistakes, not from the sky itself. Use this short checklist before you leave your room or vehicle.
- Confirm the date window: Make sure the session is timed for darker conditions, ideally around the new moon.
- Read the walking notes: If you are already doing one of the small group tours utah national parks style day trips, be realistic about your energy by evening.
- Bring only light sources that preserve vision: Red lights help; bright white beams hurt both your own shooting and everyone else’s.
- Arrive early enough to settle in: Late arrivals usually miss the orientation and start behind the group.
- Know what feedback you want: Ask for help with composition, workflow, or technical checks so the guide can prioritize the right support.
- Plan your file handling afterward: Back up images soon after the session while your notes on what worked are still fresh.
Common mistakes that make the evening feel harder than it should
The most common mistake is treating the outing like a normal overlook stop. Night work is slower, and that is a good thing. You need time to adapt, settle, and build a composition deliberately.
- Showing up after dark with no orientation time: That usually leads to rushed movement and weak framing.
- Using bright lights around the group: It erases dark adaptation and creates instant frustration.
- Ignoring deliverables before booking: If you do not know whether instruction, review, or optics are included, expectations drift.
- Overloading the day beforehand: Too much driving or too many overlooks can leave you flat by the time the sky is best.
A good night around Canyonlands should feel calm and intentional. If the plan feels chaotic before the first frame, that is already useful information about the quality of the booking.
Expect a strong night photo workshop near Canyonlands to be built around dark-sky timing, clear field roles, and disciplined on-site habits that protect natural darkness. The best sessions make ownership obvious, give you enough time for your eyes to adjust, and define success with practical deliverables instead of vague promises. Before you book, confirm the moon-phase plan, the meeting logistics, and how live instruction will work once the group is in place. If you want daytime logistics handled before an evening shoot, MateiTravel can help you pair the right Utah outing with a realistic after-dark plan.
Why is the new moon so important for a Canyonlands night session?
Darker moon phases make faint stars and Milky Way detail easier to see and photograph. Even a small crescent can reduce contrast more than many first-time participants expect.
How long should I wait before serious shooting starts?
Plan on about 20 to 30 minutes for your eyes to adapt to the dark. If the group begins immediately, ask whether there is a short adjustment period built in.
Should a workshop use bright lights to illuminate the rocks?
No. In this setting, artificial light should not be used to light landscapes or rock formations because preserving natural darkness is part of good practice.
What is one sign that the group format will work well?
Clear room for questions is a good sign, especially in a smaller group. That usually makes live coaching easier during a changing sky.
Can I combine a daytime Utah park tour with a night shoot?
Yes, if the daytime schedule is realistic and the walking level is manageable for you. Check the duration first so you do not arrive at the evening session exhausted.
What should I confirm before paying for the booking?
Ask about meeting details, walking expectations, moon-phase timing, and whether any image review or in-field feedback is included. Those answers reveal how organized the session really is.

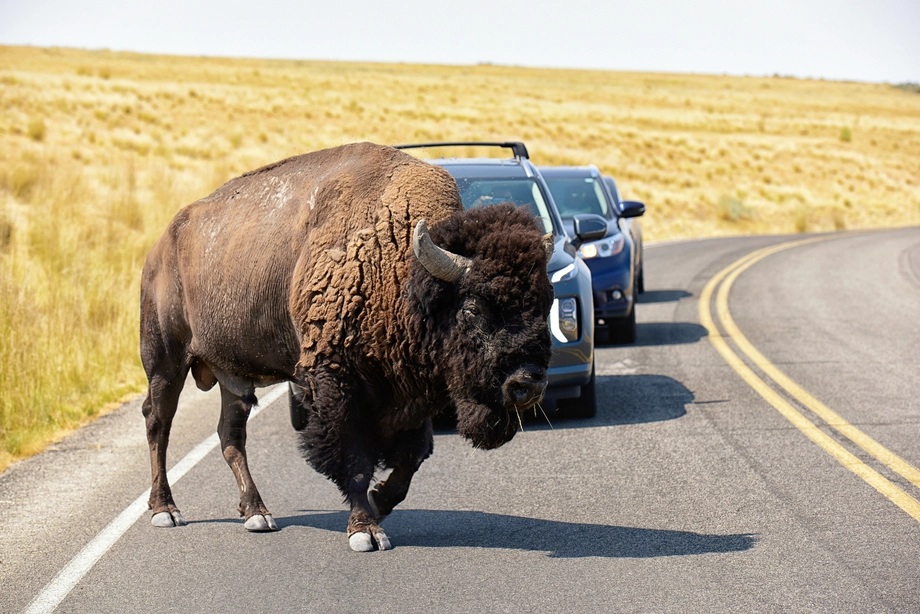 Antelope Island – Wild Heart of the Great Salt Lake Adventure
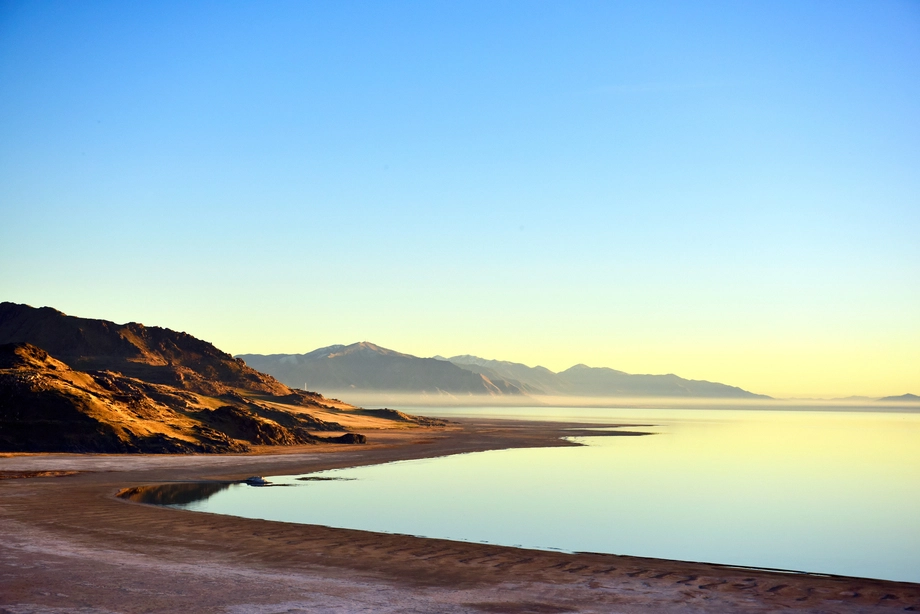 Antelope Island Sunset Wildlife Expedition – Great Salt Lake Odyssey
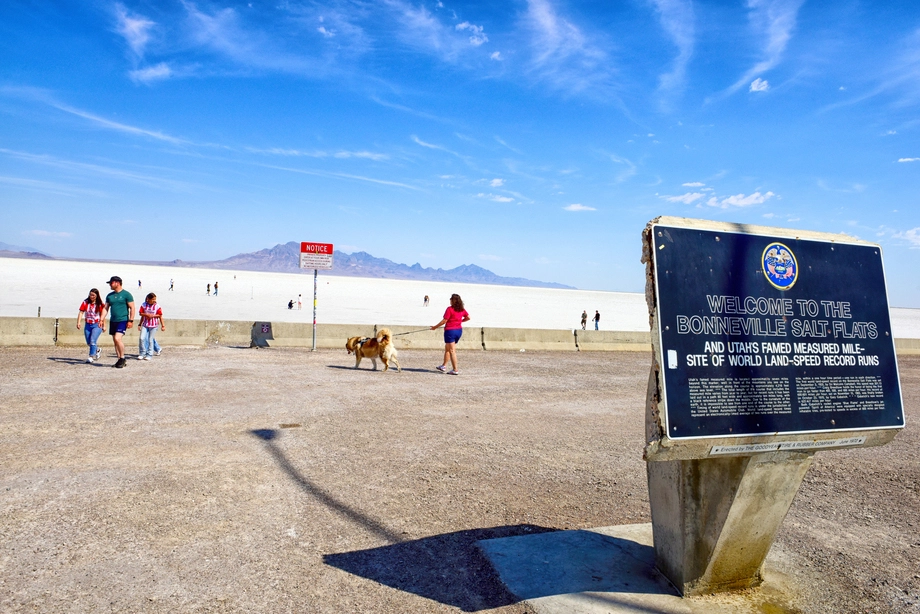 Bonneville Salt Flats – Journey to the Edge of the World
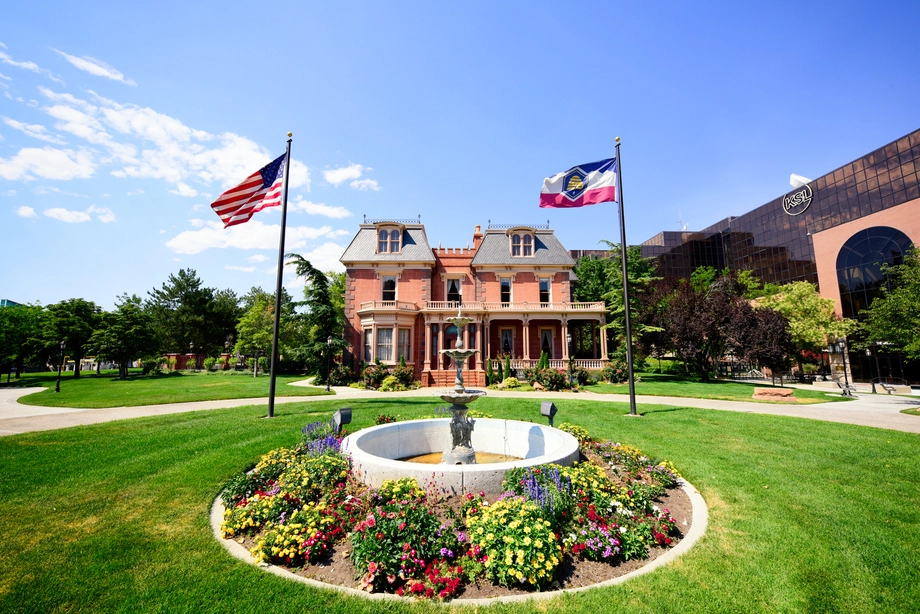 Salt Lake City – The City of Zion. Historical Interactive Walking Tour
 Bonneville Salt Flats – Sunset Adventure of the White Desert