Packing for an overnight backpacking guided trip into Canyonlands Island in the Sky
Apr 1, 2026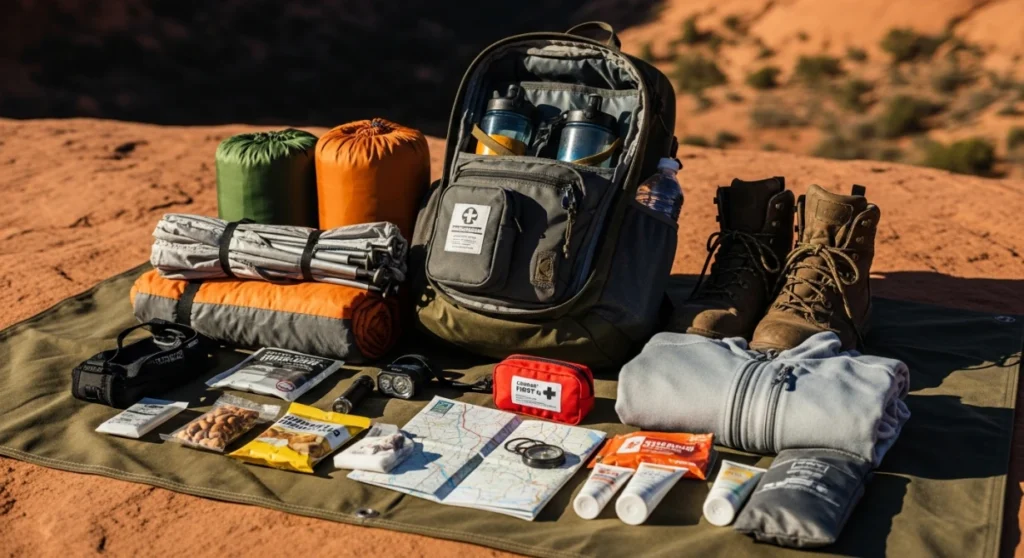
Pack light but complete: prioritize sleep system, layers for cool windy nights, reliable sun protection, and enough water capacity, then apply a simple go/no‑go checklist before your guided Island in the Sky overnight.
Most people show up for their first overnight in Island in the Sky with either way too much or dangerously too little. Heavy, redundant gear makes every canyon rim climb feel miserable, but missing layers or water capacity can turn a calm desert night into a real problem. Canyonlands’ exposed mesas, big temperature swings, and limited water make packing discipline the difference between “wow” and “never again”. Once you know what your guide provides and what the terrain demands, packing becomes a simple checklist instead of guesswork.
Define your goal and what “ready” actually means
Before you start laying gear on the floor, decide what a successful overnight looks like for you. For most travelers on an overnight backpacking guided trip into Canyonlands Island in the Sky, the real goal is comfort and safety, not shaving grams like a thru-hiker.
Core goal for an Island in the Sky overnight
Your aim is to carry a light but complete kit that keeps you warm, protected from sun and wind, and self-sufficient between guided support points. You want to move comfortably on rocky trails while being prepared for a cold, clear night on the rim.
Measurable readiness criteria
- Pack weight: For most adults, target 20–28 lb (including water but excluding any group gear your guide carries) unless your guide sets a different target.
- Temperature range: You can sleep and relax comfortably in likely lows for your season with the layers you bring.
- Sun and wind protection: You can fully cover skin, eyes, and head in exposed, windy conditions.
- Water flexibility: You can carry the amount of water your guide recommends for the longest dry stretch of the route.
- System checks: Every critical system (sleep, insulation, light, navigation backup, water, basic first aid) is present and tested.
Priorities: must-pack, should-pack, nice-to-have
Use priority buckets so you do not overload your backpack. Start with the musts, then add “shoulds” only if you still meet your weight and space targets.
Must-pack items (non‑negotiable)
- Backpack that fits you: Sized to carry your share of food, water, and layers without cutting into shoulders or hips.
- Sleep system: Sleeping bag rated for expected lows, sleeping pad with enough insulation, and any liner your guide suggests.
- Base clothing: Moisture‑wicking top, hiking pants or long shorts, synthetic or merino underwear, and hiking socks.
- Warm layer: Packable insulating jacket or fleece that you can wear over your base layer in camp.
- Shell layer: Lightweight, wind‑resistant, and waterproof or water‑repellent jacket.
- Sun protection: Wide‑brim hat, UV‑blocking sunglasses, high‑SPF sunscreen, and lip balm.
- Water system: Bottles or a bladder that together meet your guide’s minimum capacity (often several liters in desert terrain).
- Light: Headlamp with fresh batteries for cooking, bathroom breaks, and early starts.
- Personal first aid & meds: Blister care, any prescriptions, and small add‑ons your guide does not supply.
Should-pack items (strongly recommended)
- Second base layer: Light long‑sleeve for sun and evening warmth.
- Extra socks: One spare pair in a dry bag for sleeping or swapping after a dusty day.
- Gloves and light hat or beanie: Especially outside of peak summer or if you get cold easily.
- Trekking poles: Helpful on uneven rock, slickrock slopes, and when your pack is closer to the upper weight limit.
- Small personal hygiene kit: Travel toothbrush, small toothpaste, hand sanitizer, and a few wipes.
- Simple repair items: A few strips of tape and a safety pin for quick field fixes.
Nice-to-have items (only if weight allows)
- Camp comfort: Lightweight camp shoes or sandals for relaxing after hiking.
- Small pillow solution: Either a tiny inflatable pillow or a pillowcase to stuff with clothing.
- Camera beyond your phone: Only if you are willing to carry the extra weight and protect it from dust.
- Compact journal: A small notebook and pen for notes about geology, history, or your own route memories.
- Extra snack variety: Treats from home that add morale without adding much weight.
You found a hidden promo code!
Use code WOWBLOG at checkout and get 10% OFF any tour!
Limited time offer. Book now and save!
Browse ToursExecution order: when to pack what
The easiest way to avoid last‑minute chaos is to work backward from your departure time and pack in layers: decisions first, then must‑haves, then refinements.
One week before departure
- Clarify what the guide provides: Ask specifically about group gear such as tent, cooking equipment, water treatment, and food so you do not double-carry.
- Confirm expected weather range: Check forecast trends for daytime highs and nighttime lows on the mesa.
- Test pack and footwear: Do at least one one‑hour walk with your loaded pack to adjust straps and spot hot spots in your shoes.
Two days before departure
- Lay everything out by priority bucket: Separate musts, shoulds, and nice‑to‑haves on the floor.
- Weigh your pack: Add water weight equivalent and check whether you are inside your target.
- Trim duplicates: Remove redundant clothing, extra gadgets, or full‑size toiletries.
Night before departure
- Pack core systems first: Sleep kit at the bottom, mid‑layer clothing in the middle, frequently used items near the top.
- Stage your day‑one outfit: Lay out hiking clothes, hat, and sunscreen so you are not digging in your pack at dawn.
- Pre‑fill water containers: If advised by your guide, fill bottles or bladders to save time in the morning.
Clothing and sleep systems for Island in the Sky conditions
On the Island in the Sky plateau, sun exposure, wind, and clear, cool nights often matter more than daytime heat alone. Your clothing should form a simple, versatile system rather than a pile of single‑use pieces.
Layering essentials by season
| Season | Daytime focus | Nighttime focus | Key extra pieces |
|---|---|---|---|
| Late spring | Sun protection, light breathability | Cool to cold, especially with wind | Light beanie, medium‑weight fleece |
| Summer | Maximum sun protection, ventilation | Mild to cool, can still be breezy | Light fleece or puffy, sleep socks |
| Early fall | Warm days, increasing wind | Cold nights, more likely frost | Warmer insulating jacket, gloves |
Choose pants and shirts that dry quickly and resist abrasion on rock. Avoid heavy cotton; once it is sweaty or dusty it stays uncomfortable longer and offers little warmth when damp.
Sleep comfort checks
- Bag rating vs forecast: Your sleeping bag’s comfort rating should be at or below the expected low, not just the “limit” rating.
- Pad insulation: If you know you sleep cold or the ground will be exposed rock, choose a pad with enough thickness for both comfort and warmth.
- Dedicated sleep clothing: Lightweight, dry base layer and socks reserved only for sleeping improve warmth and comfort.
Water, food, and desert risk controls
Island in the Sky feels airy and dry, which means dehydration can sneak up even when you do not feel sweaty. Guided groups reduce risk by planning water sources and meal logistics, but you still need habits that match the landscape.
In arid, high‑desert environments, drink small amounts of water consistently through the day rather than waiting for thirst, and protect yourself from direct sun to slow fluid loss.
Water planning with your guide
- Capacity first: Bring enough containers to match the longest dry stretch your guide anticipates, not just what you usually carry on day hikes.
- Carry method: Decide whether you prefer one large bladder or several smaller bottles so you can track intake easily.
- Electrolyte support: Pack a few tablets or powders if you tend to cramp or sweat heavily.
Food packing: what to bring and what to leave
Most guided overnights include group meals, but you will usually bring your own snacks and possibly some personal favorites for breakfast or dessert. Choose calorie‑dense, packable foods that you already know your stomach likes while moving.
- Trail snacks: Nuts, bars, dried fruit, and small savory items pack well and keep energy steady.
- Personal treat: One or two lightweight “comfort” items can make a windy evening on the rim feel special.
- Avoid experiments: Do not try unfamiliar or very heavy foods for the first time on this trip.
Common packing mistakes specific to Island in the Sky
The same few errors show up again and again on Canyonlands overnights. Knowing them ahead of time lets you adjust your checklist before you leave home.
- Too little sun coverage: Relying on a baseball cap and short sleeves instead of a wide‑brim hat and long‑sleeve sun shirt often leads to burns and fatigue.
- Bulky clothing instead of layers: One big sweatshirt or heavy jacket takes lots of space but works in fewer conditions than two lighter layers.
- Over‑packing “just in case” items: Duplicating toiletries, bringing multiple books, or carrying large camera kits adds weight without improving safety.
- No tested footwear: Brand‑new shoes combined with pack weight and sand are a recipe for blisters.
- Ignoring wind chill: Clear evenings on the rim can feel much colder than the thermometer suggests once the wind picks up.

Risk controls and critical misses to avoid
Use your packing list as a risk management tool, not just a shopping list. A few categories matter so much that missing them can force route changes or make the overnight unsafe.
Critical risk categories
| Category | Risk if missing | Simple control |
|---|---|---|
| Insulation layer | Chilling in camp, poor sleep, hypothermia risk in shoulder seasons | Always pack one warm layer beyond what you expect to wear while hiking |
| Sun protection | Burns, heat stress, reduced enjoyment, possible trip cut short | Carry hat, sunglasses, and sunscreen where you can reach them while walking |
| Lighting | Hard or unsafe movement around camp after dark | Headlamp with fresh batteries plus a tiny backup light if your guide recommends |
| Water capacity | Dehydration and forced pace changes | Pack enough bottles/bladders for worst‑case dry intervals your guide outlines |
Simple pre‑trip risk review
- Walk through your day: Imagine a full 24 hours from morning hike to night in the tent and confirm that each hour’s needs are covered by something in your pack.
- Ask about group norms: Check with your guide about typical wind conditions, pace, and breaks so you pack realistic comfort items.
- Match gear to walking level: If your group is described as light to moderate walking, your gear should support relaxed movement, not push your limits.
Go/No-Go readiness checklist for your Island in the Sky overnight
Use this short checklist on the morning of departure. If you cannot comfortably answer “yes” to the must‑haves, pause and adjust before you head toward the park.
Personal go/no‑go criteria
- Pack weight acceptable: With full water, I can put on my pack, walk a few minutes, and still breathe and move comfortably.
- All four key systems present: I have working shelter/sleep, clothing layers, water capacity, and lighting.
- Sun and wind coverage: I can cover my head, neck, and arms and protect my eyes in bright, windy conditions.
- Footwear tested: I have walked at least several miles in the shoes or boots I am wearing today.
- Essential medications packed: Anything I must take daily or might need urgently is in my pack and accessible.
- Guide expectations confirmed: I know where and when we meet, approximate hiking time, and what my guide is carrying for the group.
If you answer “no” to any of these musts, that is a no‑go signal until you fix the gap. “Should” and “nice‑to‑have” items can always be trimmed to solve space or comfort issues.
How guided Utah park tours influence your packing
Many travelers combine an Island in the Sky overnight with broader scenic experiences across Utah. That context shapes what you carry, especially if you are linking several activities into one itinerary.
Some visitors book structured options that include narrated drives, shorter walks, and guided viewing stops across several parks. Services like the Utah National Parks Tours collection are designed for people who want major viewpoints and rim walks handled for them, so overnight backpacking becomes just one component of a wider trip. If you are using canyonlands tours from moab or other regional excursions, keep your backpacking kit modular so you can leave overnight‑only items in your hotel or vehicle when you switch to lighter walking days.
When you choose the best tours of utah national parks in a small, guided format, packing light is even more helpful because you will be moving luggage between vehicles, hotels, and meeting points rather than leaving everything in one basecamp. Look for small group tours utah national parks style that publish walking levels and daily schedules clearly, then align your clothing and footwear systems so they work both for your overnight and for shorter guided outings.
Practical packing tips from the field
Actionable tips to simplify your packing
- Use packing cubes or stuff sacks by category: Keep sleep, clothing, and “on‑trail” items separated so you can find what you need quickly in camp.
- Assign every item a job: If you cannot name when you will use something on this specific overnight, leave it at home.
- Pre‑portion consumables: Take only the amounts of sunscreen, toothpaste, and snacks you actually need instead of full containers.
- Trail‑test your pockets: Decide in advance which pockets carry phone, map copy, and a small snack so you do not constantly take off your pack.
- Practice camp setup once: If you are bringing any of your own shelter components, set them up at home in low light to see if your system feels intuitive.
Two example scenarios
Scenario 1: Comfortable first‑timer
You pack a moderate‑weight bag with a reliable sleep system, one warm layer beyond what you expect to wear, sun coverage, and tested shoes. Your guide carries tent components and group kitchen gear. On the rim, wind picks up and temperatures drop more than forecast, but you pull on your extra layer and beanie and stay comfortable while others without those pieces retreat early to their sleeping bags.
Scenario 2: Over‑packer turned efficient traveler
On a previous trip, you carried multiple outfits and a heavy camera kit and felt exhausted. This time you ruthlessly apply must/should/nice priorities. You leave duplicate clothing and bulky gadgets at home. Your pack drops several pounds, you move more easily on rocky sections, and you actually use every piece you brought. The overnight feels both safer and far more enjoyable.
Packing for an Island in the Sky overnight is less about owning specialized gear and more about making clear choices. Start with a defined goal, then build a simple, layered system that covers sleep, warmth, water, and sun. Use must/should/nice priorities and a go/no‑go checklist so you avoid both over‑packing and critical gaps. With the right preparation, a guided overnight in Canyonlands becomes a highlight that fits smoothly into a broader Utah adventure. If you want expert help weaving that overnight into a streamlined itinerary, MateiTravel can coordinate guided park touring and local logistics around your backpacking plans.
How heavy should my pack be for an Island in the Sky overnight?
Most adults do well with a total pack weight of about 20–28 lb including water, as long as essential systems are covered and your guide does not specify otherwise.
Do I need different clothing for the overnight than for day tours in Utah parks?
Your core layers can be the same, but the overnight requires at least one warmer insulating layer and dedicated sleep clothing for cooler rim temperatures.
What kind of sun protection works best on the Island in the Sky plateau?
A wide‑brim hat, long‑sleeve sun shirt, UV‑blocking sunglasses, and high‑SPF sunscreen together give better coverage than relying on a cap and short sleeves.
How much water capacity should I bring for a guided Canyonlands overnight?
Bring enough bottles or a bladder to match the longest dry stretch your guide expects, which often means several liters per person in desert terrain.
Are trekking poles important for this type of guided overnight?
Trekking poles are not mandatory but are strongly recommended if you carry near the top of the weight range or feel less stable on rock and uneven surfaces.
Can I reuse my overnight packing system on small group national park tours?
Yes, a good layering system and comfortable footwear work well on both backpacking and shorter guided walks; you can simply leave camp‑only items behind on day tours.
How do I know if I have packed too many “comfort” items?
If your pack feels heavy once you add full water and you are carrying items without a clear use on this specific overnight, you have probably over‑packed.
What is the last thing I should check before leaving for the Island in the Sky overnight?
Do a quick go/no‑go check that confirms tested footwear, complete sleep and clothing systems, adequate water capacity, lighting, and any critical medications.

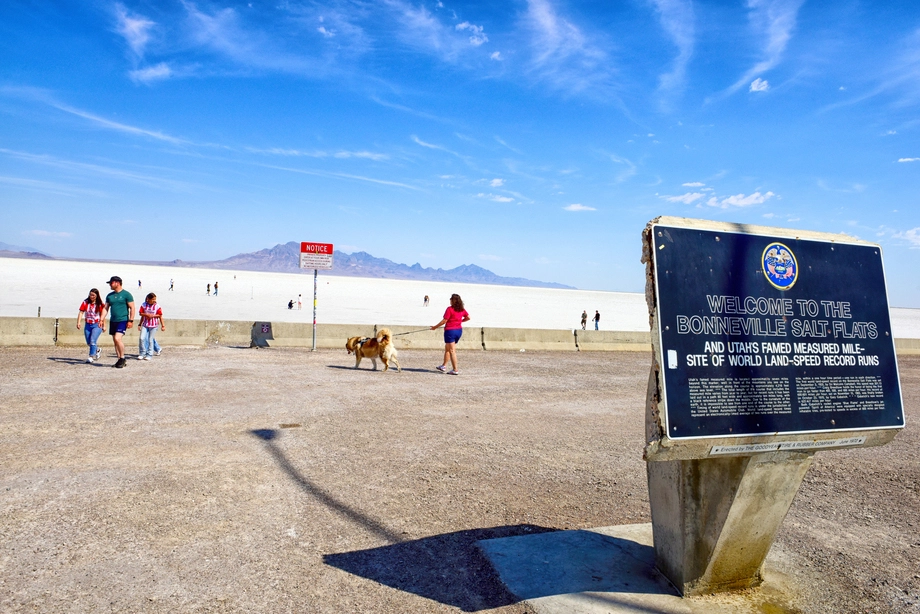 Bonneville Salt Flats – Journey to the Edge of the World
 Salt Lake City – The City of Zion. Historical Interactive Walking Tour
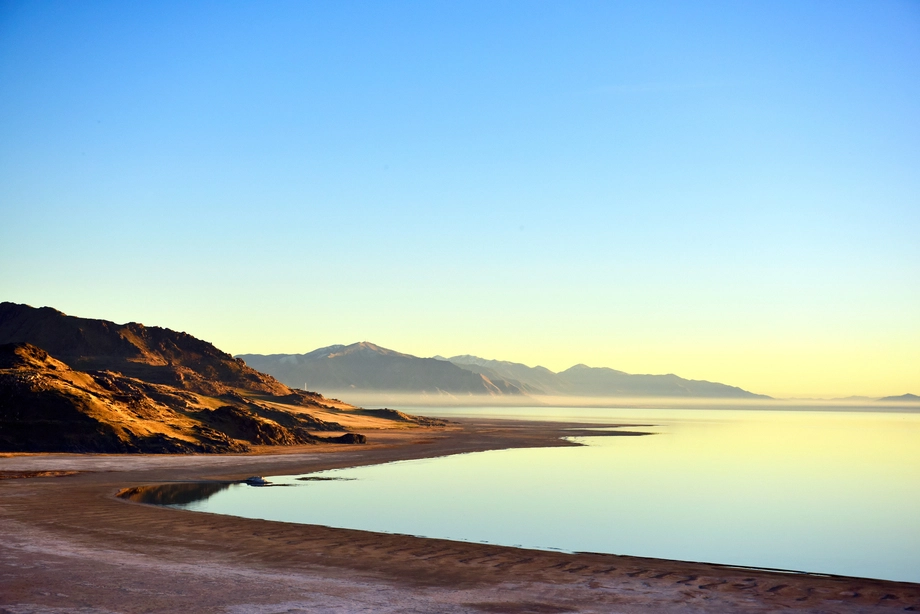 Antelope Island Sunset Wildlife Expedition – Great Salt Lake Odyssey
 Bonneville Salt Flats – Sunset Adventure of the White Desert
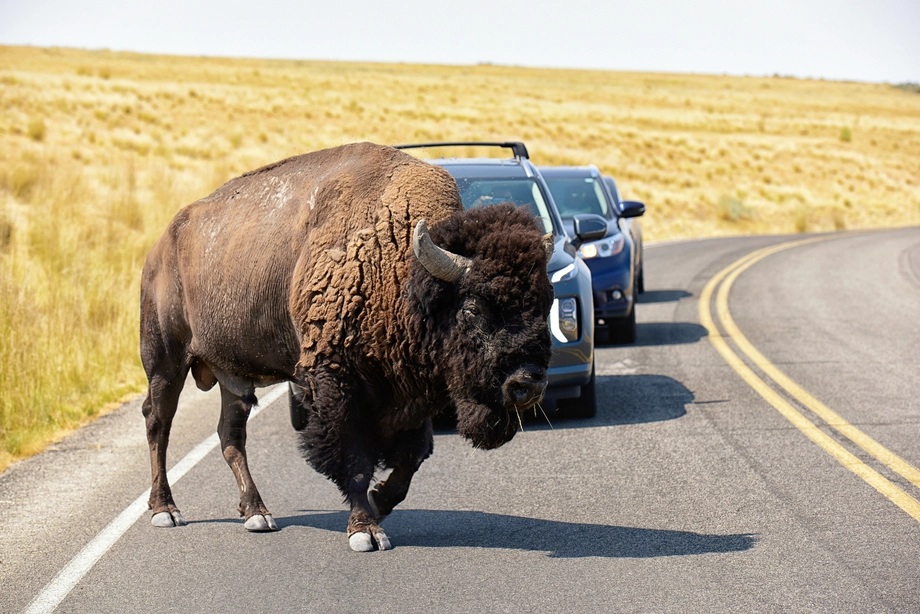 Antelope Island – Wild Heart of the Great Salt Lake Adventure